Before You Start
This document is intended to serve as a quick reference for frequently asked questions and is not intended as a substitute for reading and understanding the Perfect Descent Operations Manual in its entirety. ALWAYS read the manual before installing and using Perfect Descent Auto Belays and have it readily available to staff and other responsible parties.

Quick Links
Download Manuals: https://perfectdescent.com/manuals
Download Certification/Conformity Documents: https://perfectdescent.com/certifications
Find Authorized Service Centers: https://perfectdescent.com/service-centers
Find Authorized Resellers: https://perfectdescent.com/resellers
Recertification Requirements
Perfect Descent Auto Belays require periodic recertification by an authorized service center. Failure to recertify your auto belay will void any available warranty and may expose users to significant risk.
Perfect Descent Auto Belays with a manufacture date of July 2020 and later are sold with a Class A certification and require periodic examination at least once every 12 months. This same interval applies to any older model that has been updated to the Class A certification.
Perfect Descent Auto Belays with a manufacture date of June 2020 and earlier were sold with a with a Class C certification and require periodic examination at least once every 24 months.
Unpacking Your Auto Belay
- KEEP YOUR BOX and original packaging for storage and return shipment to an authorized service center for recertification and repairs.
- Register each auto belay at https://perfectdescent.com/product-registration/ and be the first to receive service alerts, recertification notices, and exclusive product updates and offers.
- Make a record in your Equipment Management System with the auto belay serial number and set a reminder for the recertification date listed on each unit.
About Lanyard Length
- The lanyard must always be equivalent to or greater in length than the anticipated mounting height.
- Units with excessive lanyard length may experience improper lanyard spooling that can result in a jerky or rapid descent.
- Always select the lanyard that most closely matches the mounting height and avoid using long lanyards on short walls.
- The user may replace long lanyards with shorter lanyards to accommodate lower mounting heights.
- Never replace a shorter lanyard with a longer lanyard as the unit will not operate properly. Longer lanyards can only be installed by C-3 Manufacturing or an authorized service center. Refer to section 2.0 of the Operations Manual for further mounting height information.
Where to Install
- Install the auto belay over the intended descent path with the housing oriented vertically and lanyard nozzle facing down. The lanyard should hang unobstructed by the climbing wall or climbing holds and should not be allowed to pass over sharp edges or drag on the wall or holds during descent. Never install the auto belay where there is risk that the lanyard could become lodged behind hand holds or other obstructions.
- Mount the auto belay in a manner that prevents a climber from climbing above the unit.
- Ensure that the height of the wall does not exceed the length of the lanyard and ensure that climbers cannot forcibly extract the lanyard beyond its max length.
- Avoid routes where climber movements while ascending or descending could present hazards or affect climber safety.
- Do not allow the lanyard to pass over, under, or around the path of another climber.
- Do not install the auto belay on jumping style activities or in a manner where it can be repeatedly shock-loaded. Repeated shocking loads can cause damage that may result in an accelerated descent rate.
- Never install the Perfect Descent Climbing System where the housing or lanyard can encounter electrical hazards.
Anchor Requirements
- Anchor points must be engineered to support the maximum possible load capable of being generated with the appropriate safety factor.
- Minimum requirements must conform to those of EN 12572: Climbing wall anchor points and EN 795: Anchor Devices.
- In all cases and prior to first use, anchors used in conjunction with Perfect Descent Auto Belays should be verified by a qualified engineer, or person of equivalent competency, and deemed sufficient to comply with minimum load capacity as determined by the controlling requirements, standards, or regulations.
- Make sure that anchor points are a suitable size to correctly install mounting hardware and connect the auto belay so as to prevent accidental disengagement or rollout.
Hardware Requirements
- Installation methods and hardware must meet the minimum requirements set forth by controlling standards and regulations, and in no case, less than the minimums stated in the Operations Manual.
- Never use installation methods and hardware other than those recommended in the Operations Manual unless such other hardware and methods have been deemed to be suitable by a qualified engineer.
- All secondary connectors and hardware used in the installation of the Perfect Descent must conform to the requirements of EN 362: Types of connectors for personal protection and/or EN 12275: Types of connectors for mountaineering.
Key Installation Considerations
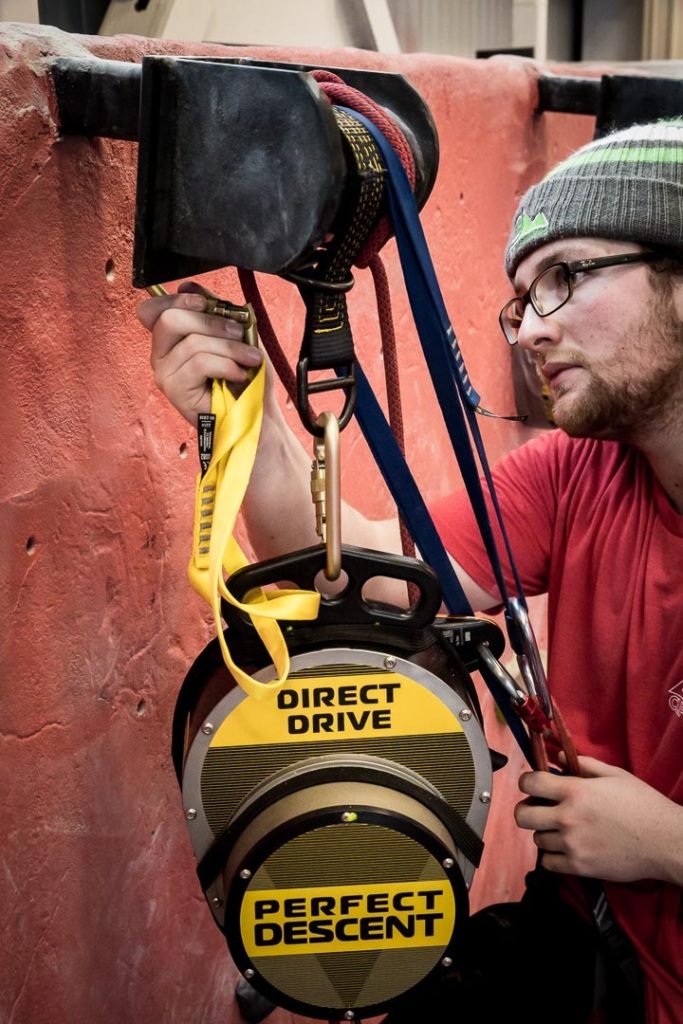
- Always mount the Perfect Descent with the Instruction Label facing the wall and the Brake Housing facing away from the wall.
- The auto belay must only be mounted using the attachment points on the Installation Handle. Always mount the device upright so that the lanyard nozzle is pointing downward in line with the climbing path.
- For maximum lanyard life, avoid rigid mounting strategies. The preferred mounting method is to freely hang the unit away from the wall using a single connector to the center eye of the Installation Handle with an unloaded secondary connector to one of the offset eyes.
- When mounting the unit flush to the wall or when using double point mounting, the connectors should be equalized and attached to the opposing offset eyes of the Installation Handle.
Pre-use Inspections
You are required to perform regular inspections of the auto belay as set forth in the Operations Manual.
Do not use the Perfect Descent Climbing System if any inspection reveals an unsafe condition.
- Daily Inspection
- Inspect the auto belay before use each day to confirm that the unit is functioning properly.
- Verify smooth, even deployment of the lanyard by pulling the line out until it stops. Return the line back into the housing in a controlled manner.
- Verify proper function of the retraction system by confirming a static retraction force greater than 2kg (4.5lbs) with at least 65% of the stated lanyard length extended.
- Check carabiner(s) for damage or deformity and confirm proper function of the gate and locking mechanism.
- Inspect the lanyard for wear and damage (refer to section 13.7) and verify proper brake function by making a short descent of 1-1.5m (3-5ft).
- Weekly Inspection
- In addition to completing the daily inspection, inspect the lanyard along its entire length looking for excessive wear or damage, paying particular attention to the stitching near the termination on each end (refer to section 13.7 for examples of acceptable and unacceptable lanyard wear).
- Remove from use any unit showing excessive lanyard wear or damage, or stitching that is broken, frayed, or missing threads, until the lanyard can be replaced.
- Check that the carabiner functions properly and automatically closes and locks when released.
- Confirm all fasteners on the housing are consistently seated and tight; also confirm that none are missing, damaged, or have been improperly substituted or altered in any way.
- Verify that the housing is not damaged, dented, cracked, or corroded and that the installation handle and lanyard nozzle are not excessively worn or otherwise compromised.
- Evaluate the anchor hardware and check for excessive wear, loose or missing components, or damage.
- Formal Inspection
- A competent person should complete the Formal Inspection at intervals of no more than six months.
- It is recommended that units exposed to high-volume usage or severe conditions undergo a Formal Inspection more frequently. The frequency of inspection must be established by the operator’s organization based on such factors as the nature and severity of conditions, frequency of use, and exposure time of the equipment.
- Reference section 13.3 of the Operations Manual for step-by-step procedures for completing and recording the Formal Inspection.
Climbing & Storing
- Use belay gates to reduce the likelihood that a climber may forget to connect to the auto belay before climbing.
- The device is approved for use by a single person weighing 11.5-140 kg (25lbs-310lbs.
- Like other critical life-safety equipment, climbers must be instructed on the safe use of auto belays.
- We recommend establishing standard operating policies and procedures regarding the specific use and supervision of auto belays at your facility. This should include requirements for orientation on the use of auto belays and a process to measure competency of the user.
- Auto belays should not be used by any person who has not received proper instruction without hands-on supervision from a trained and competent individual.
- Climbers should not allow a slack line to develop. A slack line resulting in free-fall could seriously injure a climber or break the line. Climbers should be instructed to look for slack developing in the line as they ascend, and in the event of a slack line, should stop climbing immediately, remain stationary on the wall, and notify the operator.
- During operating hours, store the lanyard clipped to a Belay Gate or similar connection point near the base of the wall. Lightweight tag lines should be used to guide the lanyard into the fully retracted position for overnight and extended storage. Always remove tag lines from the climbing area before use as they can become a hazard if left unattended.
- Never store the device with a wet lanyard retracted into the unit. Lanyards that become wet must be allowed to air dry before retracting and storing.
Cleaning & Maintaining Your Unit
- Learn more about COVID cleaning and disinfecting protocol here.
- Regularly clean the auto belay housing with a clean, damp cloth to remove chalk, dirt, or other contamination.
- Thoroughly clean and dry the auto belay anytime there is exposure to water or damp conditions.
- Never use solvents or abrasives to clean the housing as this may damage the plating and labels.
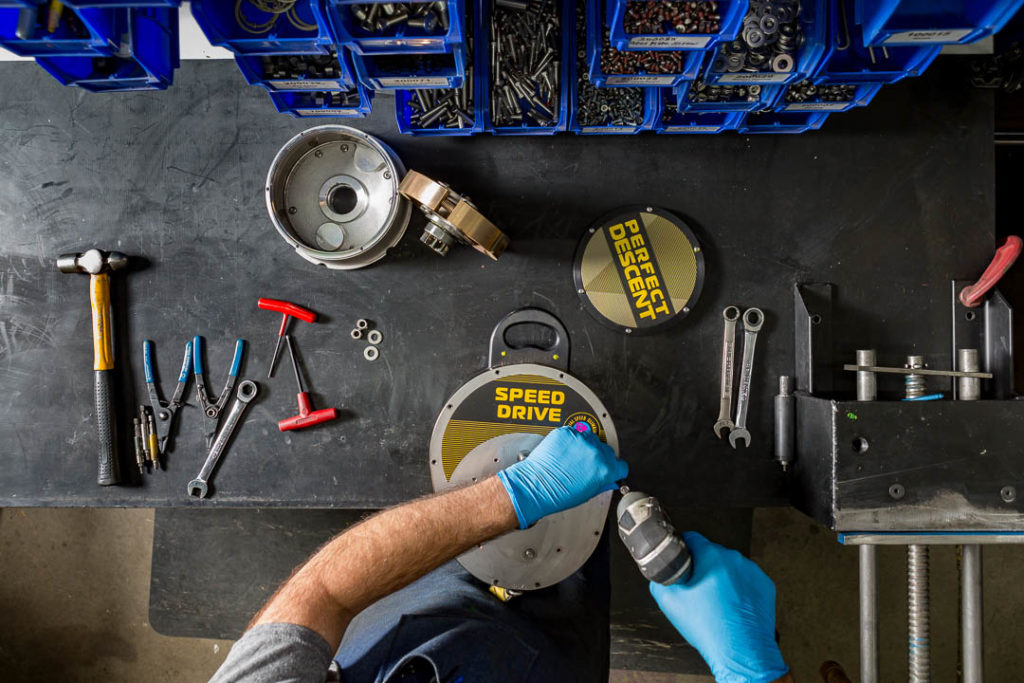
- Major maintenance can only be performed by an authorized service center. Never attempt to open or otherwise disassemble the unit.
- Units in regular operation should have the lanyard replaced annually or anytime an inspection finds damage, excessive wear to the connector and/or webbing, corrosion on the carabiner, or stitching that is broken, frayed, or missing threads.
- Lanyards may be stored in a clean, cool, and dry setting away from chemicals or other corrosives for up to 5 years from the manufacture date indicated on the lanyard label.
- Maintain the lanyard carabiner by removing loose dirt and chalk (if necessary, carabiners can be cleaned using warm water with a mild detergent) before lubricating the gate hinge, swivel, and locking collar with a light machine oil (such as 3-IN-ONE oil or Cam Lube) between all moving parts.
- Wipe away excess lubricant and DO NOT allow lubricant to contact the nylon webbing as this may cause damage.
- Remove from service any auto belay that is damaged or in need of maintenance, and appropriately quarantine the device until it can be returned to an authorized service center for evaluation.
Troubleshooting Your Unit
The most common issues can be resolved quickly and simply without the need to return your Perfect Descent Auto Belay to an authorized service center. Immediately remove from use any unit that is observed to be operating improperly or outside of stated limits and quarantine the device until such a time that the issue can be identified and resolved.
Lanyard retracting slow or does not retract completely
Check the lanyard for excessive wear and fuzz
Check for internal contaminants
Check retraction force
Check your tag line
Check lanyard spooling
Auto belay is making noises
It sounds like a tape measure spooling
One unit is louder than another
The unit is making a pronounced ratcheting noise
Descent is choppy or faster than normal
Check lanyard spooling
Check lanyard length
Carabiner gate is not functioning properly
Carabiner gate fails to fully close and/or lock